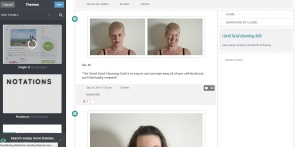
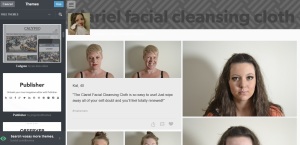
These are a couple of themes that I really like
Retouching Portraits
Image Mapping
Week Seven
Creating GIFs and Identity Online
We looked at our major assignment today, and then moved on to creating GIFs.
Unfortunately I chose an image with a complicated background, which I forgot about when using the Puppet Warp tool.
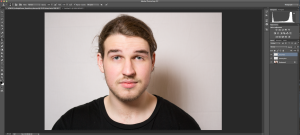
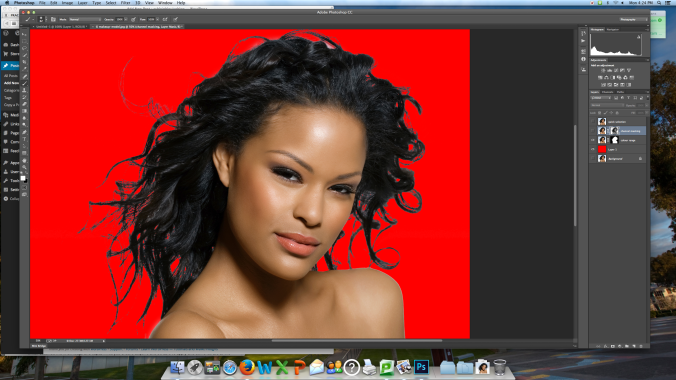
Today I also started working on retouching my first About Face photograph.
Week Four
Today we looked at preparing files for print and web. When submitting files, it’s important to be able to control and make decisions about things like pixels, file type (JPEG, TIFF, etc), image size, colour space (for example sRGB) and PPI (pixels per inch).
File workflow
1. Digital Negative (RAW file)
2. Edited image (Master File)
3. Output files (Print/Web/Projector)
We prepared a file for both web and print in Photoshop CC.
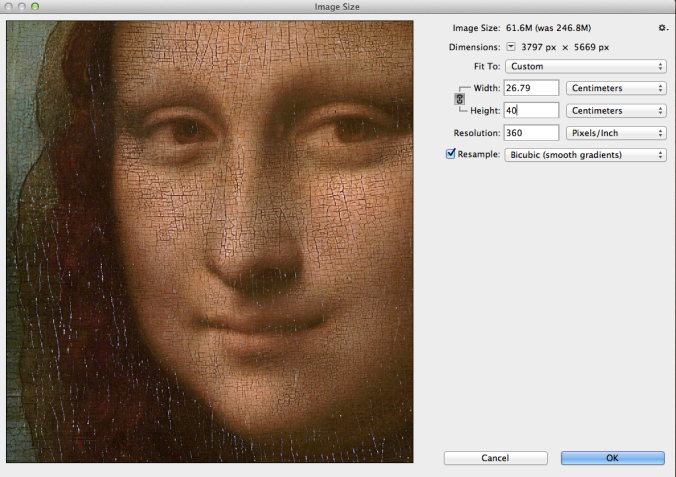
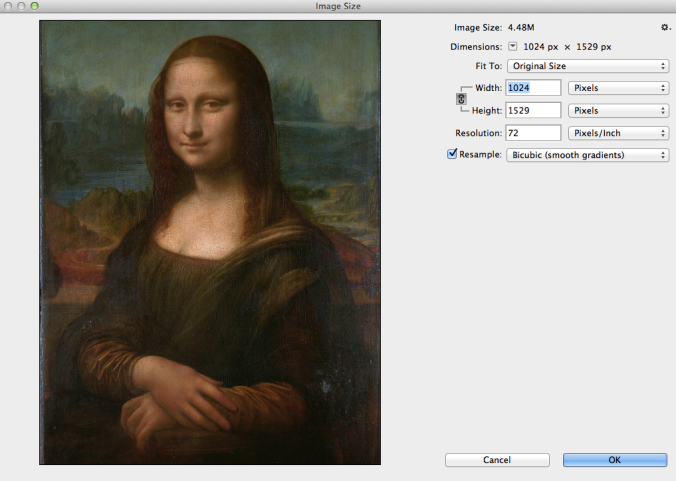
This is the file being prepared for print, on A3, thus file size is (slightly smaller than) A3 measurements which are 29.7 x 42cm. Resolution much higher at 360PPI
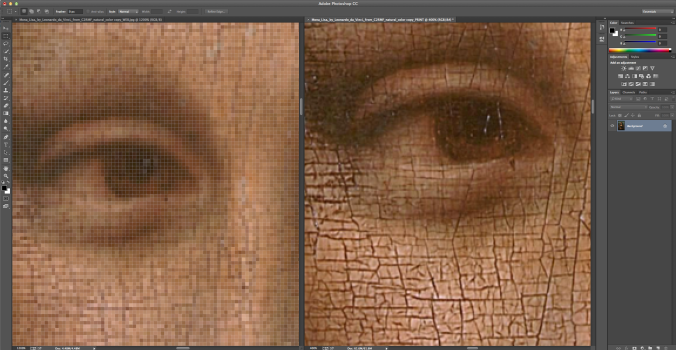
A comparison between both files for web and print. PPI much lower for web, thus less detail and smaller file size.
We also explored colour space and colour management. sRGB is suitable for web files, but for print etc, Adobe RGB is a much wider colour space and therefore more effective for better quality images, and allows us to display more colours (meaning smoother colour gradients throughout the image).
The importance of a “neutral” workspace was emphasised e.g. neutral lighting, wall colours, even clothing colours and the necessity of a calibrated monitor. The monitors in P2.11 are automatically calibrated and thus ideal for professional editing.
I have taken some example photos on my iPhone of a possible location to shoot Inside Out. I’ve always admired the architecture of the ceilings at Knox City Shopping Centre, in Wantirna South, and thought they’d make an interesting subject for this assignment. I’m yet to decide if I will shoot there, but so far I haven’t thought of another location that captures my interest.
Week Three
HDR Processing and exposure bracketing…
This week we went out and did an exposure bracketing exercise as preparation for our first assignment, Inside Out.
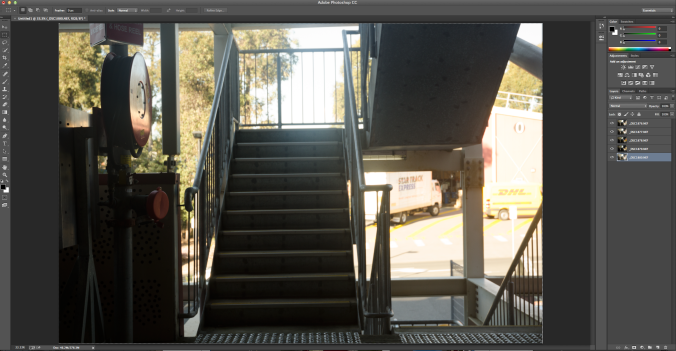
We took a photo of an interior looking out, using the car park as our location.
We adjusted the settings so that the camera’s light meter was on 0, took a photo, and then took a couple of photos moving the exposure value up and down.
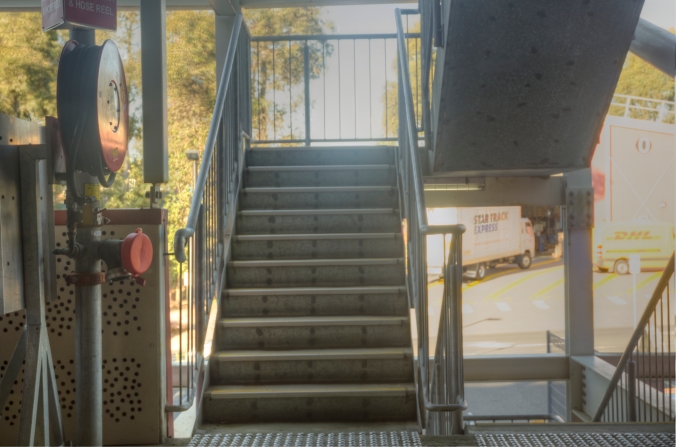
Once we’d done that we uploaded these photos and used both Camera RAW and Photomatix Pro to merge them into a HDR image, with a wider tonal range than the initial photo.
Next time, when I’m photographing my assignment, I’ll take more care to ensure better focus, and a more resolved range of exposure values.
Week Two
This week we focused on histograms and how to read them, non-destructive editing, and white balance. We also looked at altering contrast, highlights, and shadows as well as sharpening.
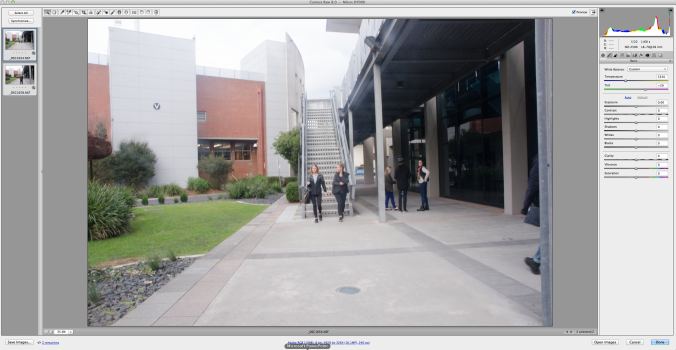
We took a series of photos, opened them in Adobe Bridge and edited our images in Camera Raw to neutralise the colour balance.
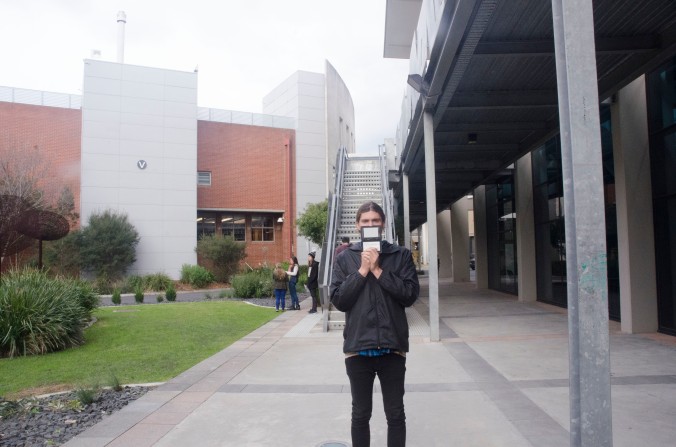
We first took a photo, making sure the histogram was healthy. Then we had someone stand with the colour card in the picture. The colour card is a perfect “neutral grey”.
In Photoshop we sampled the colour card using the White Balance Tool, and that set the White Balance for photo. By synchronising the photos we changed the White Balance for all the images.
We also used the adjustment brush to make local adjustments and changes to darkness, highlights etc.
